Step 1- Creating a Individual Lender Account
The Account Object
Before you start the onboarding and verification process, you must first create an individual account and assign it a LENDER profile with a CROWDLENDING activity.
This step covers:
- Creating an individual seller account
- Retrieving the account information (so you can display or store key fields on your side)
| Method | Endpoint | Purpose |
|---|---|---|
| POST | /accounts/individual | create an individual account and assign it a LENDER profile with a CROWDLENDING activity. |
| GET | /accounts/{id} | Retrieve the individual account information. |
1) Create an individual lender account
The /accounts/individual endpoint creates an individual lender account for a user who will lend funds to another individual.
Request
POST https://onboarding-api.lemonway.com/accounts/individualPayload
NoteIt is essential to configure properties profile as "LENDER" and the activity as "CROWDLENDING".
{
    "individual": {
        "firstName": "Lucas",
        "lastName": "Moreau",
        "birthDate": "1992-06-01",
        "email": "[email protected]",
        "address": {
            "country": "FR"
        },
        "birthCountry": "FR",
        "nationalities": [
            "FR"
        ]
    },
    "profile": "LENDER",
    "walletId": "7b2e3a1d-8f9c-4e5b-bc6a-2d1f0e3a4b5c",
    "activity": "CROWDLENDING"
}
Response
Store the returned.id as the accountId.
{
    "id": "9d406f61-ddb1-437a-9b06-29291ca3b3c0",
    "status": "CREATED",
    "profileStatus": "AWAITING_INFORMATION"
}
Conceptual View 1: The Lender's Journey
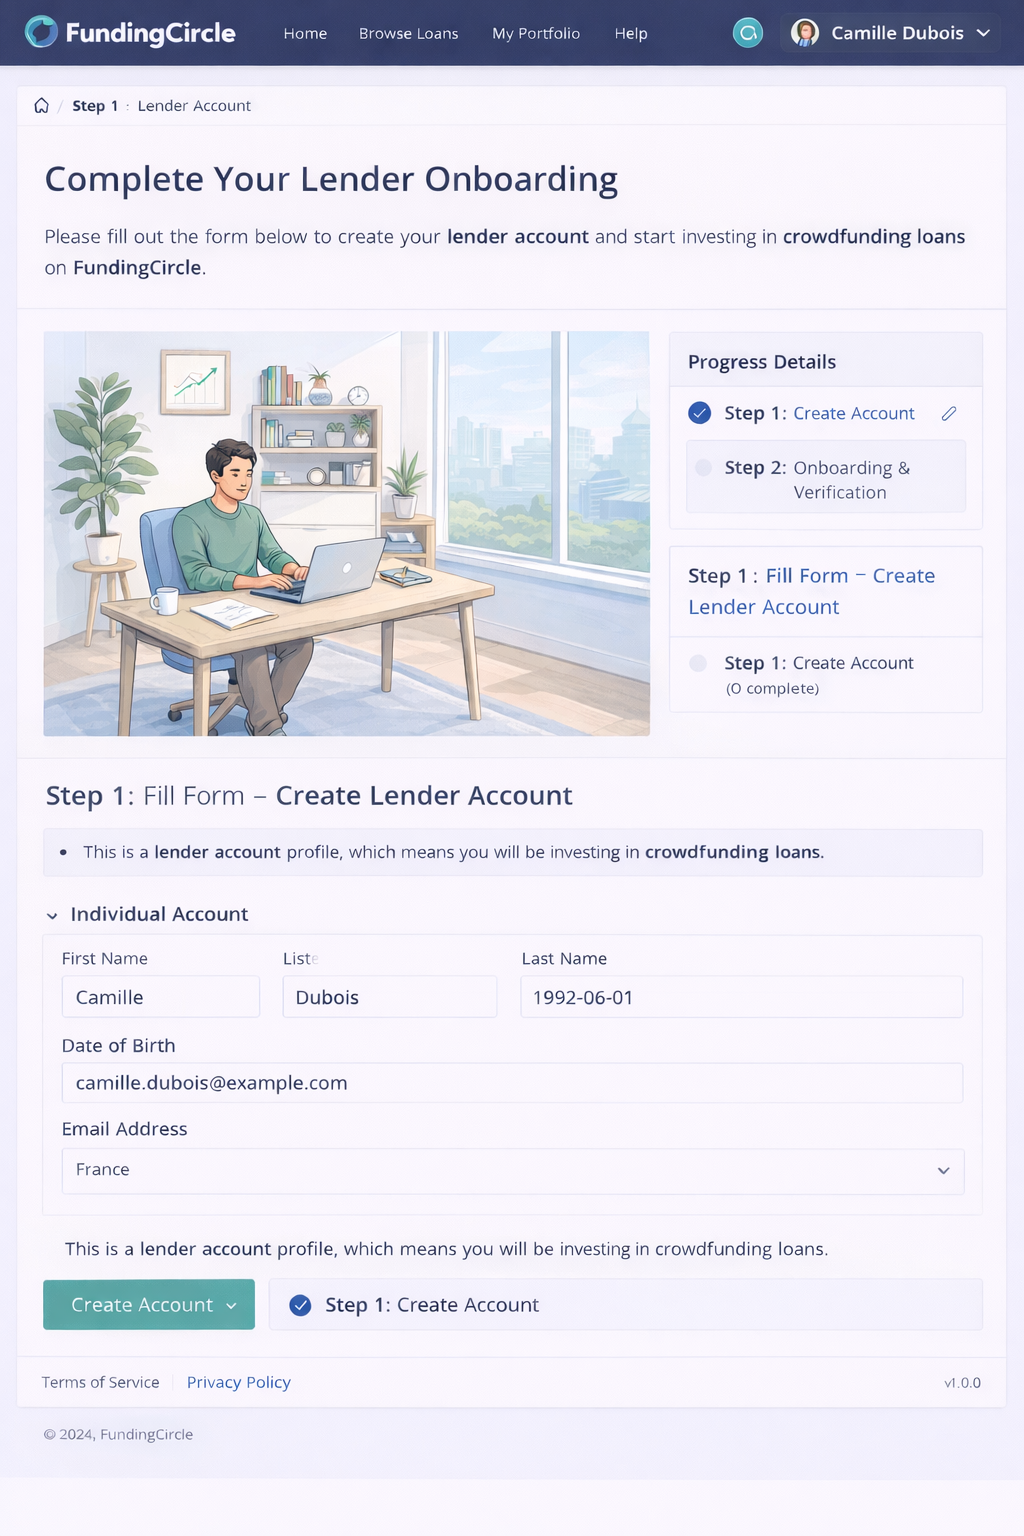
To help you understand how to integrate our endpoints, we’re providing a conceptual view of what the lender's journey can look like, what the lender should expect, and how you can present this information on your platform. From the lender's perspective, it could look like the example shown.
Conceptional perspective
Updated 3 months ago