Manage Users
Create a Lemonway User:
- Click Configuration
- Select Users
- Click Invite User
- Enter the following information into the form
- Email address
- Role (define the role according to the permissions that you want the user to have)
- Click Submit
- The newly created user will appear in the invitations list. Click Invitations list tab to view all invited users.
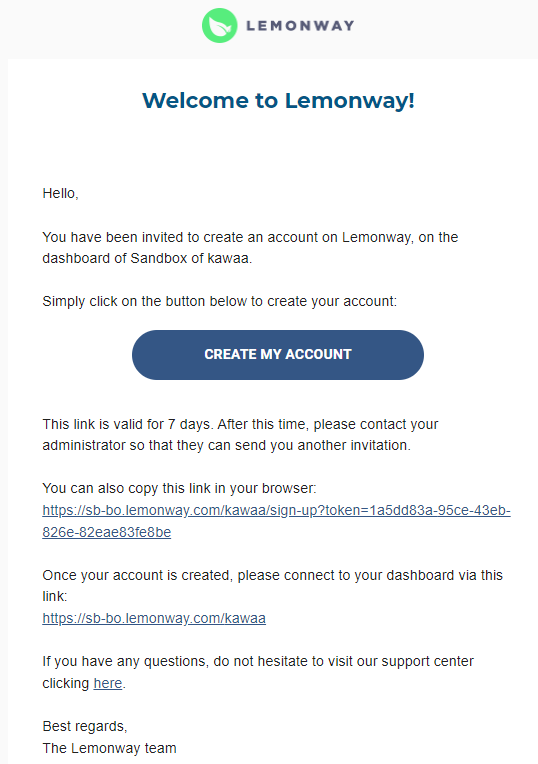
- An email notification is sent to the invited user. The user is then able to click the Create my account link and follow the setup instructions.
Example Dashboard Invite

Example: Lemonway Dashboard New User Invitation
NoteEnsure that the new user’s IP address is whitelisted in order for them to access the dashboard. You can manage whitelisted IP Addresses from the dashboard through the Configuration > IP Address Whitelist page.
ImportantThe Invitation link expires after 7 days. You can only send an invitation, modify a role or delete an invitation only to users assigned with the same roles as you, or with less permissions.
The Invitations Tab
The invitations tab contains a list of all the current invited users. The following actions are available from the Invitations tab:
- Update an existing user role
- Cancel a user invitation
- Resend a user invitation
Update an existing user role
Select the Invitations tab, and from the Actions column:
- Click the pencil ✏️ to modify a user role
- Select a new role from the displayed Role list
- Click Update. A confirmation notice will be displayed on the screen. The user's new role is displayed in the Roles column of the table.
Cancel a user invitation
Select the Invitations tab, and from the Actions column:
- Click the Bin 🗑 to cancel a user invitation
- Click Confirm
NoteThe user will not receive an email notification, however if they click the existing link in their inbox, it will be invalid.
Resend a user invitation
Select the Invitations tab, and from the Actions column:
- Click the Resend 🔄 to resend a user invitation
Deactivate Users
Please noteUsers can not be deleted under any circumstances. You can only modify their access permissions (if you have Users and Edit user rights).
- From the dashboard, click Configuration. A menu unfolds.
- Click Users.
- Click the pencil icon on the line of the user you wish to deactivate.
- Untick the Active box.
- Click Save
Updated 3 months ago
